App stores provide a space for developers to showcase their apps before installation, with screenshots and text information that help the user make the choice to install the app. Richer install UI provides a similar space for web app developers to invite their users to install their app, directly from the browser. This enhanced UI is available in Chrome for Android and desktop environments.
Default prompt
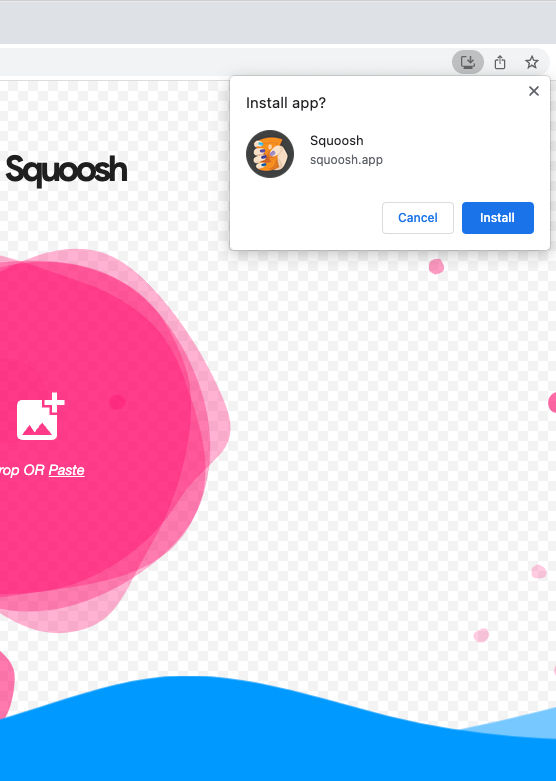
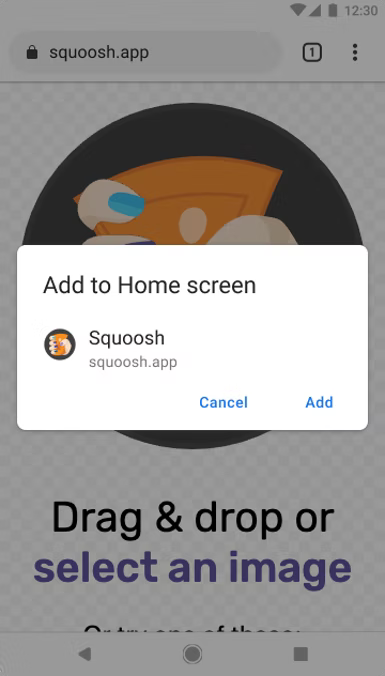
See the example below for the default experience, which doesn’t provide enough context.
Richer Install UI
To get the Richer Install UI dialog instead of the regular small default prompt, add screenshots and description fields to your web manifest. Check out the Squoosh.app example below:
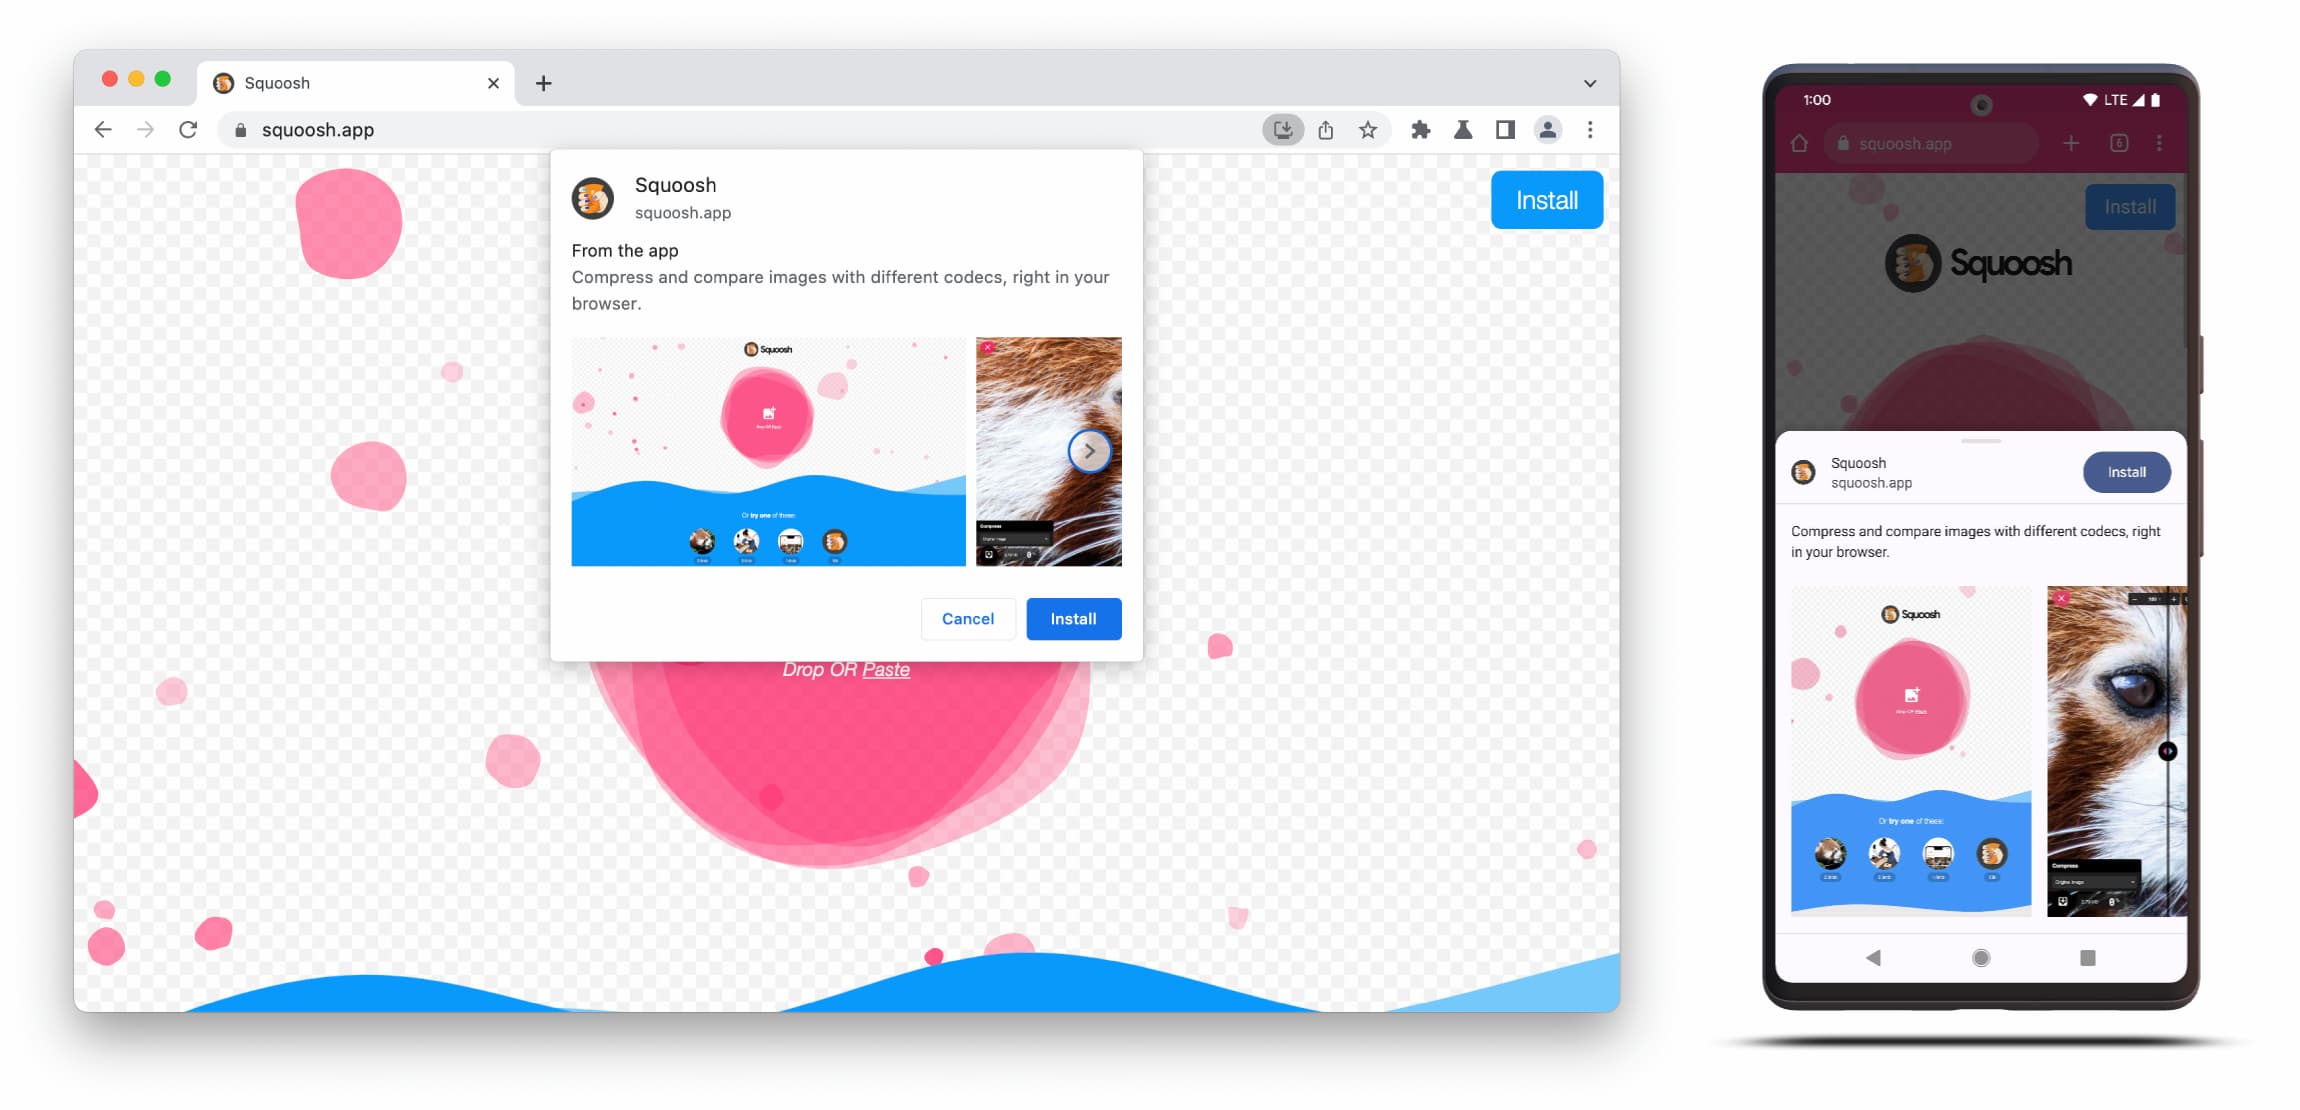
The Richer Install UI dialog is composed of the contents of the description and screenshots fields in the web manifest.
To trigger the dialog you just need to add at least one screenshot for the corresponding form factor, but it is recommended to add the description as well. Checkout the specifics for those fields below.
Screenshots
Screenshots really add the 'richer' part to the new install UI and we strongly recommend their use. In your manifest you add the screenshots member, which takes an array that requires at least one image and Chrome will display up to eight. An example is shown below.
 "screenshots": [
    {
     "src": "source/image1.png",
      "sizes": "640x320",
      "type": "image/png",
      "form_factor": "wide",
      "label": "Wonder Widgets"
    }
]
Screenshots must follow these criteria:
- Width and height must be at least 320px and at most 3,840px.
- The maximum dimension can't be more than 2.3 times as long as the minimum dimension.
- All screenshots with the same form factor value must have identical aspect ratios.
- Only JPEG and PNG image formats are supported.
- Only eight screenshots will be shown. If more are added, the user agent simply ignores them.
Also, you need to include the size and type of the image so it renders correctly.
The form_factor indicates to the browser whether the screenshot should appear on desktop (wide) or mobile environments (narrow).
Description
The description member describes the application in the installation prompt, to invite the user to keep the app.
The dialog would display even without a description, but it is encouraged.
There is a maximum that kicks in after 7 lines of text (roughly 324 characters) and longer descriptions are truncated and an ellipsis is appended.
{
…
"description": "Compress and compare images with different codecs
right in your browser."
}
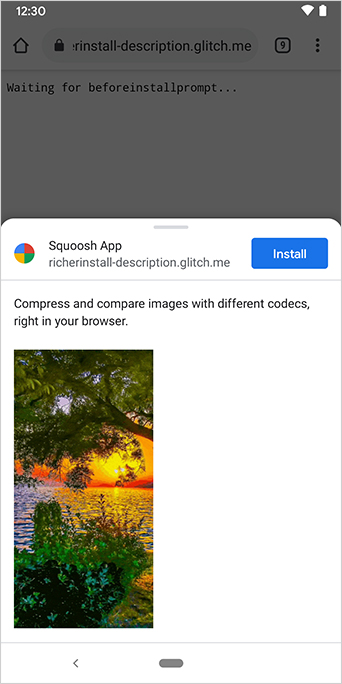
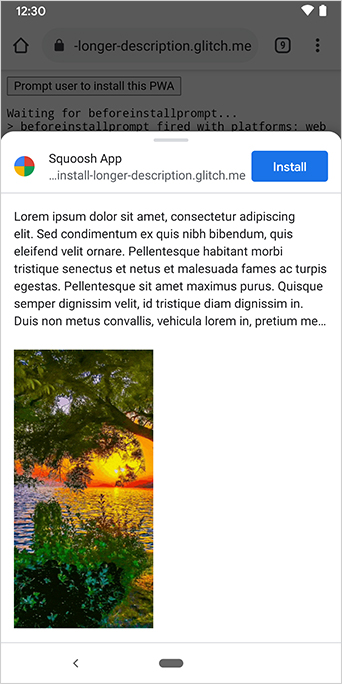
The description appears at the top of the installation prompt.
You may have noticed from the screenshots that installation dialogs also list the app's origin. Origins that are too long to fit the UI are truncated, this is also known as eliding and is used as a security measure to protect users.
Further reading
Demo
HTML
<!DOCTYPE html>
<html lang="en">
  <head>
    <meta charset="utf-8" />
    <meta name="viewport" content="width=device-width, initial-scale=1" />
    <meta name="color-scheme" content="dark light" />
    <link rel="manifest" href="manifest.json" />
    <title>How to add Richer Install UI to your web app</title>
    <!-- TODO: Devsite - Removed inline handlers -->
    <!-- <script>
      if ('serviceWorker' in navigator) {
        window.addEventListener('load', () => {
          navigator.serviceWorker.register('sw.js');
        });
      }
    </script>
    <script type="module" src="script.js"></script> -->
  </head>
  <body>
    <h1>How to add Richer Install UI to your web app</h1>
    <ol>
      <li>
        Install the app by clicking the button below. After the installation,
        the button is disabled.
        <p>
          <button disabled type="button">Install</button>
        </p>
      </li>
      <li>
        When you click on install a dialog similar to the ones from app stores
        will be displayed.
      </li>
      <li>
        The dialog includes the `description` and `screenshots` set in the app
        manifest.
      </li>
      <li>
        Screenshots should be different depending if the app is being installed
        on a mobile or desktop device, according to the `form_factor` value set
        for the screenshots on the manifest
      </li>
    </ol>
  </body>
</html>
JS
        // The install button.
const installButton = document.querySelector('button');

// Only relevant for browsers that support installation.
if ('BeforeInstallPromptEvent' in window) {
  // Variable to stash the `BeforeInstallPromptEvent`.
  let installEvent = null;

  // Function that will be run when the app is installed.
  const onInstall = () => {
    // Disable the install button.
    installButton.disabled = true;
    // No longer needed.
    installEvent = null;
  };

  window.addEventListener('beforeinstallprompt', (event) => {
    // Do not show the install prompt quite yet.
    event.preventDefault();
    // Stash the `BeforeInstallPromptEvent` for later.
    installEvent = event;
    // Enable the install button.
    installButton.disabled = false;
  });

  installButton.addEventListener('click', async () => {
    // If there is no stashed `BeforeInstallPromptEvent`, return.
    if (!installEvent) {
      return;
    }
    // Use the stashed `BeforeInstallPromptEvent` to prompt the user.
    installEvent.prompt();
    const result = await installEvent.userChoice;
    // If the user installs the app, run `onInstall()`.
    if (result.outcome === 'accepted') {
      onInstall();
    }
  });

  // The user can decide to ignore the install button
  // and just use the browser prompt directly. In this case
  // likewise run `onInstall()`.
  window.addEventListener('appinstalled', () => {
    onInstall();
  });
}

